









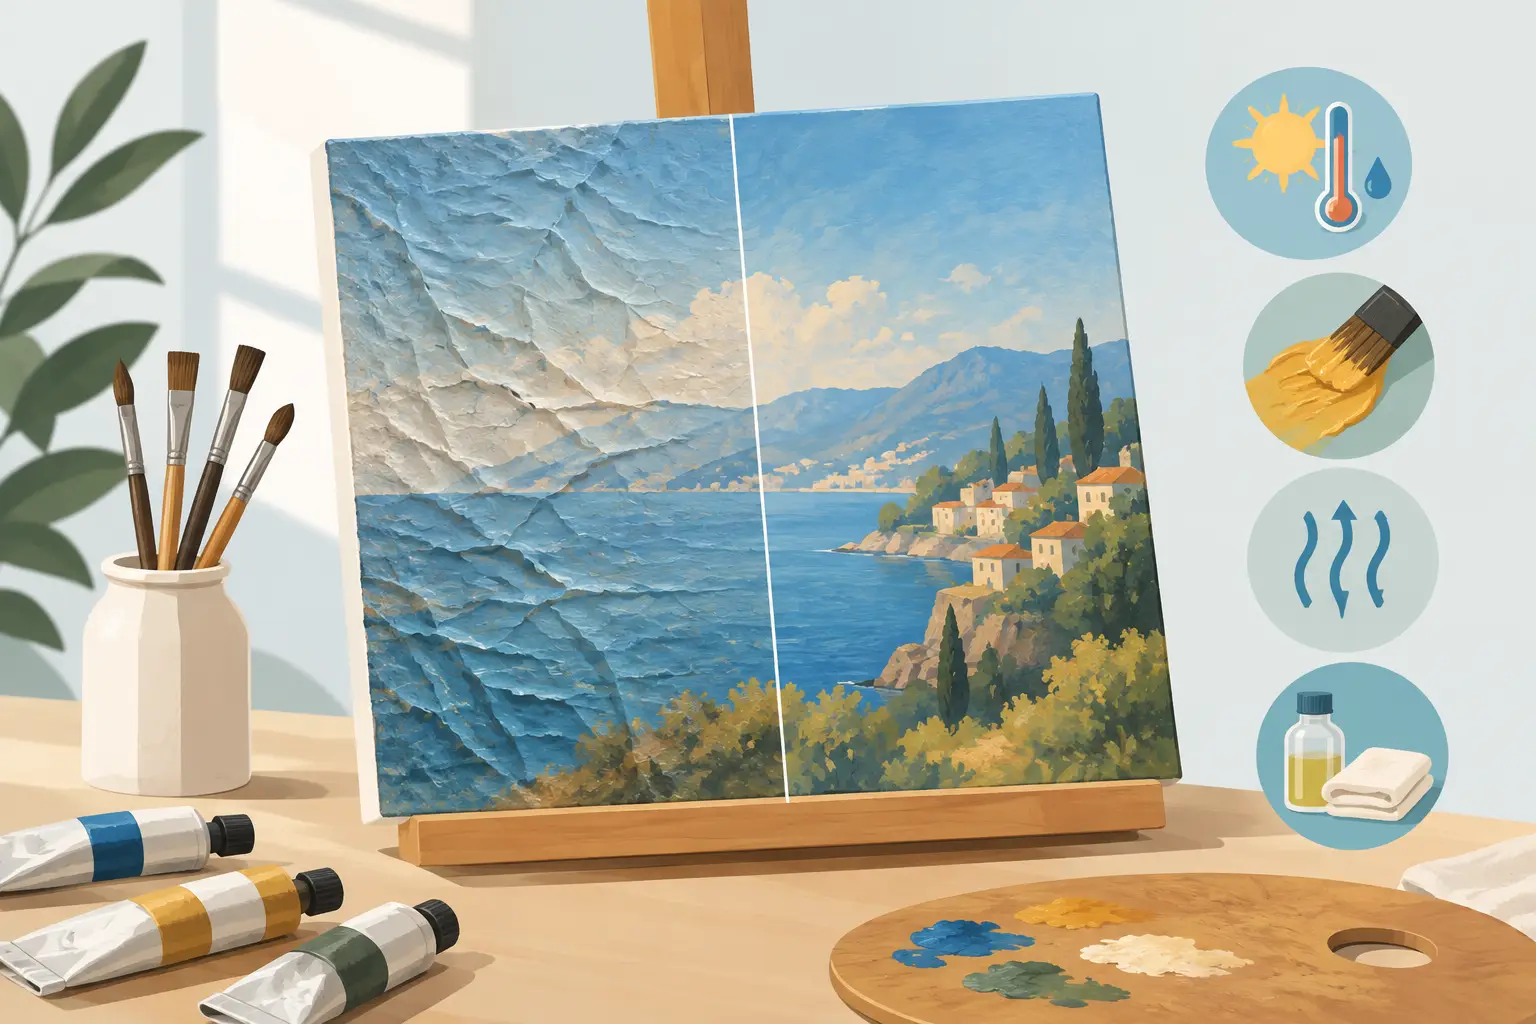
A wrinkled oil-paint surface can appear within hours: a glossy skin forms, then gathers into ridges, puckers or folds while the paint beneath remains soft. If you have asked, why do oil paints wrinkle, the short answer is that the surface has dried faster than the body of the paint. The useful answer is more particular, because the thickness of the application, the pigments involved, the medium, the temperature and the absorbency of the ground can all influence the result.
Oil paint does not dry by simple evaporation. Its drying oils react with oxygen and gradually form a solid paint film. When that reaction proceeds unevenly through a layer, the uppermost surface may become firm first. The softer paint below can then move, swell or contract beneath that skin, leaving the characteristic creased appearance.
Why Do Oil Paints Wrinkle During Drying?
Wrinkling is chiefly a problem of uneven film formation. A paint layer needs access to oxygen and sufficient time to cure from its surface inward. In a very thick passage, or a layer containing a strongly drying medium, the exposed surface can set before the lower paint has stabilised. As the paint beneath continues to change, the established surface has nowhere to go except into folds.
This is why impasto deserves particular attention. A substantial mark can be structurally sound when it is built with an appropriate paint consistency and allowed to dry at a measured pace. But a thick, glossy deposit of paint enriched with too much medium is much more likely to skin over rapidly. The result may look attractive at first, particularly under raking light, but accidental wrinkling is not the same as deliberate texture. It can remain vulnerable if the lower layer stays soft for an extended period.
Fast surface drying is not always good drying
Painters often reach for a quick-drying medium or add a drier because they need to continue working. Used sparingly and according to the medium's intended purpose, these materials can be useful. Used excessively, they can encourage the surface to harden too quickly in relation to the paint below.
Heat can have a similar effect. A painting placed beside a radiator, in direct strong sunlight or in a very warm airing cupboard may develop a dry skin faster than its interior can cure. Conversely, cold and damp conditions slow oxidation and can leave paint tacky for longer. A steady, moderately warm room with good air circulation is preferable to either extreme.
The Materials and Methods That Increase the Risk
Not every oil colour dries at the same rate. Pigments and the oils used to bind them influence drying behaviour. Earth colours often dry relatively readily, while some colours are slower. This variation becomes more significant when a fast-drying colour or medium sits in a thick mixture with a slower-drying colour.
The problem is rarely caused by pigment alone. More often, it is the combination of paint handling and additions. Over-thinning paint with solvent can leave a weak, underbound layer, while adding generous quantities of oil, resinous medium or drying additive can alter drying in the other direction. Neither approach gives the painter greater control merely because it changes the feel of the brushstroke.
A well-made professional oil colour has a carefully judged relationship between pigment and binder. Adding medium should be a deliberate decision about flow, gloss, transparency or handling, not an automatic habit. In many cases, paint used directly from the tube, adjusted only modestly where necessary, is the most dependable starting point.
Wrinkling can also occur when a painting is worked over before a lower passage has properly set. A fresh, oily or medium-rich layer may shift the semi-dry paint beneath it. This is especially likely where a painter tries to correct an area repeatedly in one sitting, laying wet paint across a partially skinned but still mobile surface.
Do not confuse wrinkling with other surface changes
A few surface effects are easily mistaken for wrinkles. Brushmarks and palette-knife texture are intentional topography. Sinking-in is a dull, patchy appearance caused when a ground or lower layer draws binder from the paint. Cracking usually develops later, when layers move differently over time. Wrinkling, by contrast, commonly appears early and has a folded, skin-like character.
The distinction matters because the remedies differ. Oiling out may help unify a sunken surface, but it will not repair a wrinkled film. Adding a varnish to disguise puckering is also unwise, particularly before the paint has cured fully.
How to Prevent Oil Paint from Wrinkling
The first principle is simple: match the thickness of the paint to the drying speed of the whole layer. If you want emphatic impasto, use paint with sufficient body and avoid flooding it with medium. Build very thick passages thoughtfully rather than depositing a deep, oily mass in one go.
Keep additions restrained. Solvent is best used to adjust the earliest, leanest stages of a painting, not as a substitute for sound paint consistency. Mediums are valuable when chosen for a clear purpose, but the smallest effective amount usually gives the painter more predictable drying. If using a drier or an alkyd-containing medium, follow its guidance precisely and test the handling on a study before committing it to an important work.
Observe the traditional principle of fat over lean. Earlier layers should generally be leaner and more absorbent, while later layers may contain relatively more oil or medium. This principle is primarily about preserving flexibility between layers and reducing future cracking, rather than a direct cure for every wrinkle. Still, it supports a coherent layer structure and discourages abrupt shifts in the paint film.
Allow each stage to reach an appropriate degree of set before painting over it. This does not always mean waiting until it is completely cured. It means judging whether the layer is sufficiently stable for the next operation. A light glaze demands a more settled surface than a direct wet-into-wet adjustment. Pressing gently at an inconspicuous edge can be informative, but avoid touching the painted face unnecessarily.
Finally, give the work a calm drying environment. Store it upright, away from dust and from direct heat, with air able to circulate around it. Resist the temptation to force the process. Oil painting rewards patience because the material continues to form its film long after it first feels dry to the touch.
What to Do If a Painting Has Already Wrinkled
Your response should depend on how fresh the paint is and how severe the defect appears. If the paint is still very soft and the wrinkled passage is small, it may be possible to remove the affected paint carefully and repaint the area. This is usually safer than trying to flatten the surface with a brush, which can disturb the partly set skin and create a larger problem.
If the layer has become firm at the surface but remains soft underneath, leave it undisturbed and allow it to cure in stable conditions. Do not add fresh paint, varnish or more medium in an attempt to correct the appearance. The paint may continue to change for some time.
For an established painting with extensive wrinkling, avoid aggressive sanding, scraping or solvent treatment. These actions can damage the paint film and expose lower layers. A qualified paintings conservator is the appropriate person to advise where the work has significant artistic, financial or personal value.
A More Reliable Studio Habit
Wrinkling is not a sign that oil painting is unpredictable by nature. It is usually evidence that the surface and the underlying paint have been asked to dry at different speeds. Work with paint that retains its intended body, make additions with purpose, and let each layer set on its own terms.
The finest control often comes not from making oil paint dry faster, but from learning how it behaves while it dries. That understanding leaves more room for confident brushwork, deliberate texture and colour that remains as considered on the surface as it was on the palette.