












A swatch should answer a studio question, not merely display a pretty strip of colour. Learning how to prepare watercolour swatches properly gives you reliable evidence of how each paint will behave on your chosen paper: its strength, transparency, granulation, staining tendency and usefulness in mixtures. That knowledge is far more valuable than judging a colour from the pan, tube or printed chart.
Begin with the paper you actually paint on
Watercolour is a partnership between pigment, binder, water and paper. A colour that appears smooth and even on hot-pressed paper may granulate dramatically on a rough, heavily sized sheet. Likewise, a staining pigment may seem manageable on one paper but resist lifting on another.
Use the same paper you intend to use for finished work whenever possible. If your practice moves between papers, prepare a small set of identical swatches on each surface and label them clearly. Include the paper brand, weight and surface, particularly if you are comparing cold-pressed, hot-pressed and rough papers.
A sheet of 300gsm paper is usually the most practical choice because it tolerates a generous wash without excessive buckling. Stretching is unnecessary for a modest swatch sheet if you work with controlled amounts of water, though taping the edges to a board can keep the surface stable. Choose a white paper without strong optical brighteners when colour judgement is the priority. The whiteness and warmth of the sheet will affect every swatch placed upon it.
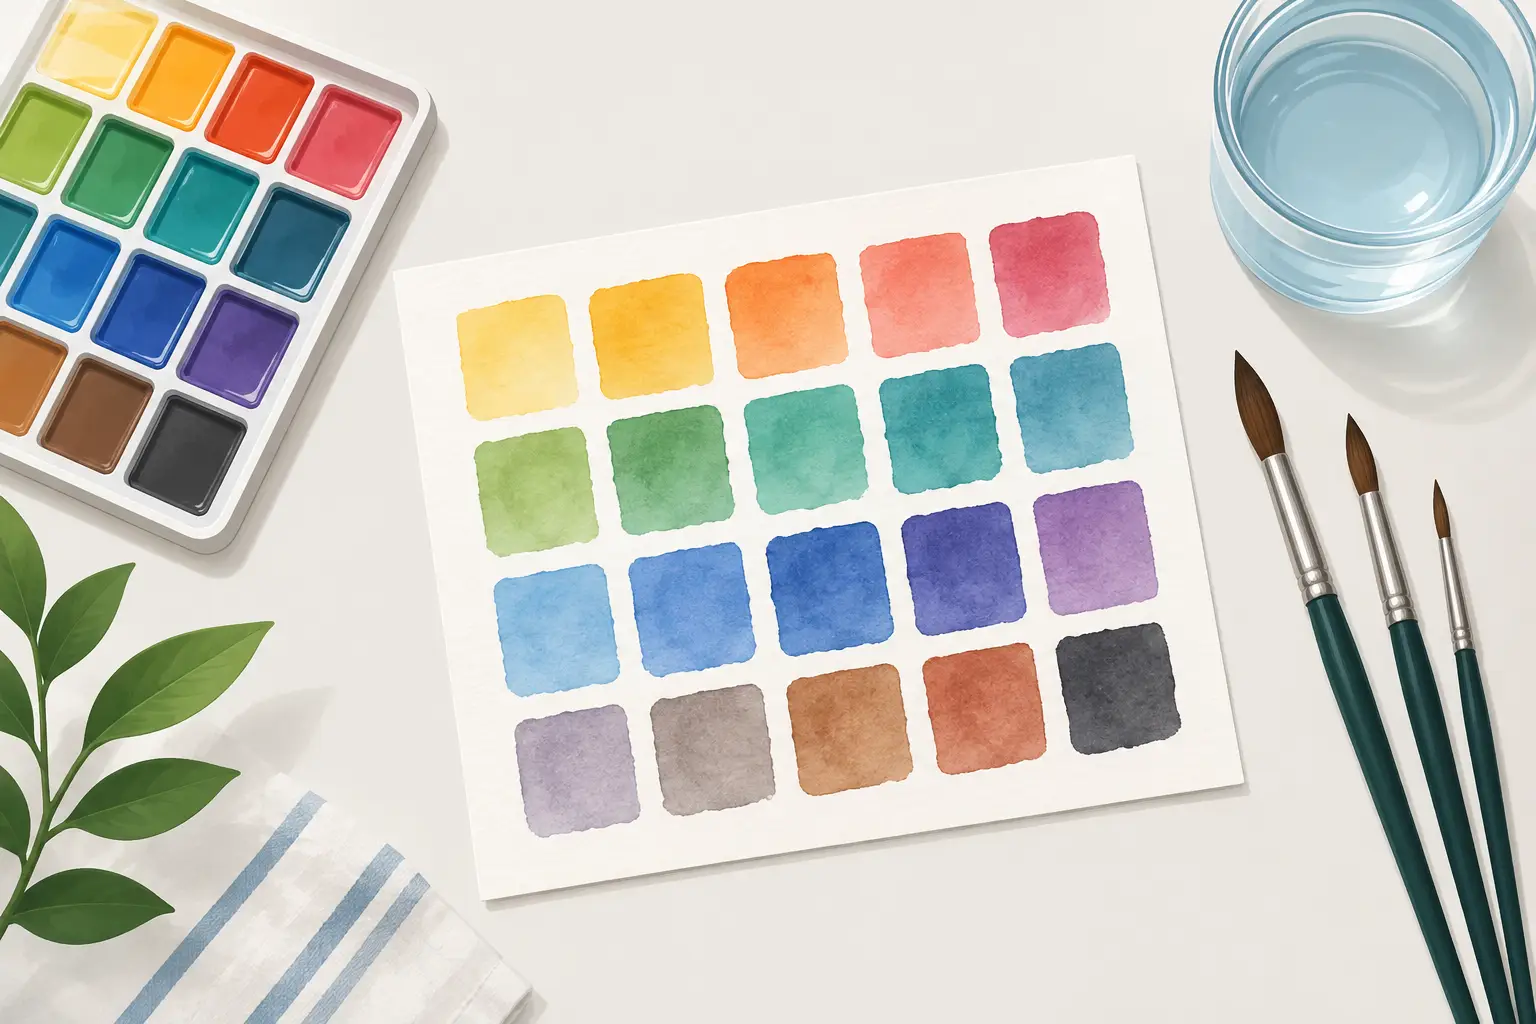
Set out a useful swatch grid
Leave enough room for the paint to speak. Small, cramped rectangles make it difficult to see wash behaviour, while oversized blocks waste paper and discourage regular use. Rectangles around 3cm wide by 5cm long offer sufficient space for a concentrated application, a graded wash and a lifted area.
Rule a light grid in pencil, using a hard grade such as 2H, and keep the divisions discreet. Watercolour can settle into heavily drawn lines and make the chart look needlessly fussy. Reserve a margin beside or beneath each rectangle for the colour name, pigment reference, and any observations worth retaining.
Record the full paint name rather than an abbreviation alone. Add the Colour Index pigment code, such as PB29 or PR122, when it is provided. This matters because names can vary between makers, and similar-looking colours may be made from entirely different pigments. A single-pigment colour often gives a clearer account of its own character, while a convenience mixture may need to be understood as a specific formulation rather than assumed to behave like its name.
Use a consistent brush and water ratio
The point of a swatch chart is comparison, so consistency matters more than any particular brush size. A round brush with a good point, roughly size 8 to 12 depending on your grid, is suitable for most charts. Use clean water and rinse thoroughly between colours, especially before testing pale yellows, delicate greens and transparent washes.
First, make a concentrated puddle of paint on a white ceramic palette. The mixture should be fluid enough to travel across the paper, but rich enough to show the pigment at close to its full working strength. With highly pigmented professional watercolours, a very small amount of paint may be sufficient. Do not judge the paint by the quantity squeezed from the tube. Judge it by the density of the wash it produces.
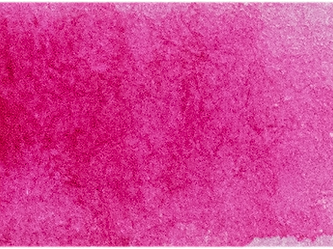
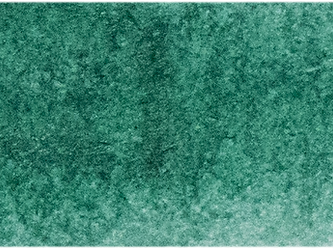
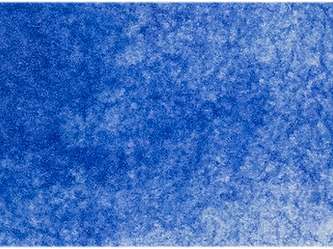
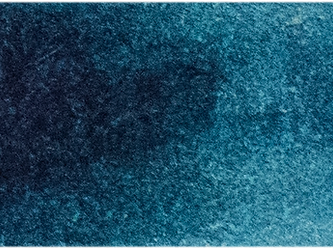
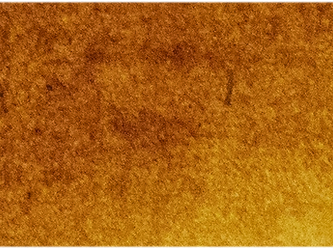
Apply the strongest portion at the top of the rectangle. Draw the loaded brush across the width, then soften and extend the wash downwards with progressively cleaner water. Aim for a clear transition from mass tone to a pale, transparent wash. This gradation reveals much more than a flat block ever can.
If the wash dries with a hard, distracting line, it is not a failure. It tells you something about the ratio of water to pigment, the absorbency of the paper and the paint's tendency to settle. Repeat the swatch only if inconsistent handling has made comparison impossible.
Show the colour at full strength and in a wash
The darker end of the swatch reveals the colour's mass tone, its apparent opacity and the depth it can achieve without repeated glazing. The lighter end exposes the undertone. Many pigments change noticeably as they are diluted: an earthy red may reveal a warm orange bias, while a deep blue may open into a violet, green or clean cyan wash.
This distinction is especially useful when selecting mixing colours. Two blues may look close in a pan but pull mixtures in very different directions once diluted. The wash end of the swatch often predicts this more truthfully than the mass tone.
Test transparency, lifting and granulation
Once the first wash is dry, add a narrow black waterproof line or a small printed strip beneath part of each swatch. A transparent colour will allow the mark to remain comparatively visible; an opaque or semi-opaque colour will obscure it more readily. This is a practical indication, not an absolute ranking. A thick application of a nominally transparent pigment can still conceal the line.
To test lifting, re-wet a small area at the lower edge of the dried swatch with a clean damp brush. Blot gently with tissue or a clean, thirsty brush. Some colours release readily, while staining pigments may leave a pronounced residue. Neither behaviour is inherently better. Easy lifting supports correction and soft-edged highlights; staining strength can be invaluable for luminous glazing and layered passages that must remain undisturbed.
Granulation deserves its own observation rather than a simple tick or cross. Look at the drying pattern in the middle of the graded wash, where there has been enough water for pigment particles to move. Granulating colours may collect in the tooth of the paper, creating texture and variation. This can be exquisite in stone, clouds and natural forms, but it may be less desirable when you need a perfectly even, graphic wash. The same pigment can show modest granulation on hot-pressed paper and much more on rough paper.
Make mixing swatches, not only single-colour charts
A collection of individual swatches is a reference library. A mixing chart turns it into a working palette. Select the colours you genuinely use together, rather than attempting every possible combination. Begin with a manageable group of six to ten colours, arranged with warm and cool variations where relevant.
Prepare a grid with one colour listed across the top and the same set down the side. In each square, mix the two colours at roughly equal strength. Then, where a mixture looks especially promising or difficult to control, make a second note using more of one colour than the other. Equal-part mixtures are informative, but paintings rarely rely on equal parts.
Observe whether a mixture remains clean, granulates, becomes unexpectedly dark, or produces a useful neutral. Pigment knowledge helps explain the result. Colours with compatible biases may create high-chroma secondary mixtures, while complements or near-complements will often yield greys, browns and muted shadow colours. Mixed-pigment paints can be useful, but their combinations may become complex quickly. If mixtures consistently turn duller than expected, simplify the palette and test single-pigment alternatives.
Michael Harding watercolours are formulated with a high pigment load, so begin these tests with less paint than you may expect. A restrained mixture makes it easier to see the character of each pigment before density masks it.
Label with observations you will use later
A swatch chart earns its place in the studio when it can answer a question at speed. Alongside pigment information, write brief notes in your own working language: “lifts cleanly”, “strong green bias”, “granulates on rough”, “excellent neutral with burnt sienna”, or “overpowers mixtures”. Avoid copying technical claims you have not tested. The most useful annotation is the one that recalls what happened on your paper, with your brush and your usual amount of water.
Date the chart, particularly when comparing paints from different batches or revisiting an older palette. Store it away from direct sunlight and do not rely on it as a permanent lightfastness test. A chart is a record of handling and appearance, not a substitute for properly conducted permanence testing.
Keep the chart alive
Do not wait until a complete palette is assembled. Swatch a new colour before it joins the mixing tray, and add a small comparison whenever you replace a familiar tube with a different pigment or formulation. A growing chart is more useful than a pristine one because it reflects the decisions your painting practice has actually required.
The aim is not to create a perfectly uniform page for display. It is to build a dependable studio document that lets you choose colour with intention, before the first wash reaches the painting.